The difference between an experienced used car buyer and a first-time buyer is not luck. It is process. Experienced buyers follow a consistent pre-purchase sequence — steps in a specific order, each building on the previous, that together produce a complete picture of any vehicle before money changes hands.
This is that process — the complete pre-purchase due diligence checklist that informed automotive buyers use in 2026.
Before You Visit Any Vehicle
Step 1 — Define Your Requirements Specifically
Before evaluating any individual vehicle, establish clear parameters:
- Maximum total price including tax, registration, and initial maintenance
- Minimum and maximum acceptable mileage range for the year
- Required safety features (NHTSA rating minimums, specific systems)
- Acceptable owner types (personal only vs. fleet acceptable)
- Geographic considerations (avoiding high-corrosion-risk markets)
Specific parameters prevent the emotional distortion that comes from evaluating a vehicle you love against criteria that shift to accommodate it.
Step 2 — Research Reliability for Your Specific Candidate
Before evaluating individual vehicles, understand the documented reliability profile of the make, model, year, and engine you are considering. Consumer reliability databases, owner forum discussions, and NHTSA complaint databases together provide a picture of what known issues affect specific model years — before you spend time evaluating individual examples.
Knowing that a specific model year has a documented transmission failure pattern around 80,000 miles changes how you evaluate a vehicle with 76,000 miles and a service record gap around the 75,000-mile mark.
Step 3 — Run the Vehicle History Report Before Visiting
This is the step that experienced buyers perform first and many first-time buyers skip or do last.
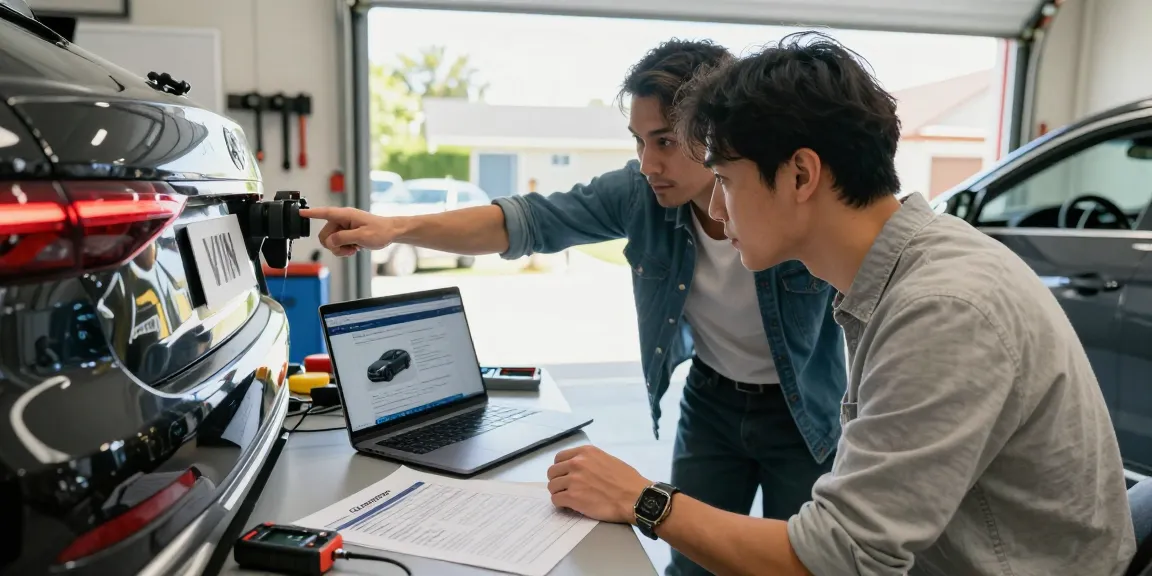
Obtain the VIN from the listing. Validate it: exactly 17 characters, no letters I, O, or Q, decoded specifications matching the vehicle. Then run a comprehensive vehicle history report.
The report costs under $10 at current affordable provider pricing. The time is under three minutes. The information — accident history, title status, odometer timeline, ownership records, service documentation, recall status — is available before you have invested any time, travel, or emotional energy in the specific vehicle.
If the report reveals a disqualifying finding: You have paid a few dollars and spent three minutes. You have not visited the vehicle, not test driven it, not begun imagining owning it. This is the lowest-cost point at which to discover a problem.
If the report is clean: You proceed to the physical visit with documented knowledge of the vehicle's history, not just the seller's representation of it.
For a current overview of affordable vehicle history report options — specifically the low-cost providers that make pre-visit screening financially practical for every candidate — the independent comparison atlow cost carfax covers the current 2026 market.
At the Vehicle — Before the Test Drive
Step 4 — VIN Physical Verification
Before any other evaluation at the vehicle:
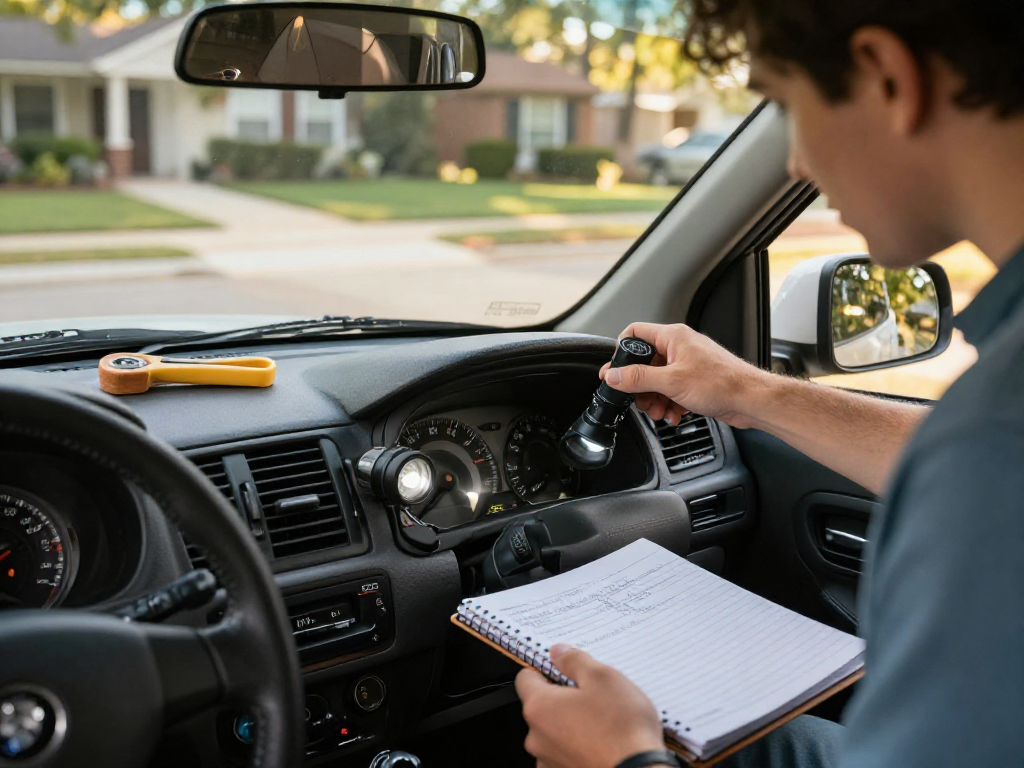
Dashboard check: Locate the VIN on the driver's side dashboard through the windshield. Write it down.
Door jamb check: Locate the VIN on the driver's side door jamb sticker. It must match the dashboard VIN exactly.
Title document check: Ask to see the physical title. The VIN on the title must match both physical locations exactly.
Specification cross-reference: The door jamb sticker includes model year, engine designation, and manufacturing information. These should match the vehicle you are evaluating. Any discrepancy ends the evaluation.
Step 5 — Title Document Examination
With the physical title in hand:
- Title is in the seller's name (or there is a clear, documented transfer chain)
- No erasures, alterations, or damage to the document
- Title type shown matches vehicle history report finding (both should show clean, or both should show the same brand)
- No lienholder name (or if present, a documented plan for lien payoff at closing)
Step 6 — Exterior Inspection
Work methodically around the vehicle before opening any door:
Paint consistency: Under consistent lighting, look for color variation between adjacent panels. A panel that has been repainted after collision repair often shows a slightly different hue, texture, or gloss level compared to original factory finish panels.
Panel alignment: Consistent gaps between adjacent panels indicate original factory assembly. Wider, narrower, or inconsistent gaps suggest panel replacement or adjustment after collision.
Surface irregularities: Run your hand along panels to detect surface variations that painting conceals visually — shallow depressions, slight waves, areas that feel different from adjacent factory panels.
Undercarriage: Look under the vehicle at the frame rails and subframe components. Any evidence of bending, straightening, or non-factory weld repairs to structural components warrants specific investigation.
Glass: Inspect windshield for chips, cracks, and the date stamp in the corner. OEM glass with the vehicle's model year in the corner indicates original glass. Aftermarket glass indicates potential windshield replacement — which can follow significant front-end impacts.
During the Inspection — Interior and Under Hood
Step 7 — Interior Evaluation
Odometer verification: Confirm the displayed mileage against the vehicle history report odometer timeline. Any significant discrepancy between displayed and documented mileage is an immediate flag.
Wear consistency: Interior wear — pedal surfaces, steering wheel leather, seat bolsters, center console contact points — should be consistent with the vehicle's age and documented mileage. Significant interior wear on a vehicle claiming low mileage warrants specific attention to the odometer timeline.
Fluid smells: Antifreeze smell (sweet) inside the cabin indicates potential heater core failure. Burning oil smell can indicate multiple issues requiring diagnosis. Musty smell from HVAC vents can indicate flood history.
Electronic function: Test every electronic system: windows, locks, mirrors, infotainment, climate control, all lighting. Electronic failures and inconsistencies can indicate water damage history or prior accident damage affecting wiring.
Step 8 — Under Hood Inspection
Fluid levels and condition: Engine oil (check both level and color/opacity), coolant level and condition, brake fluid (clarity), power steering fluid if applicable, transmission fluid if accessible.
Fluid evidence outside reservoirs: Oil residue, coolant deposits, or transmission fluid evidence outside their respective systems indicates current leaks requiring diagnosis.
Structural inspection: Look at the front radiator support, inner fender components, and engine cradle/subframe for evidence of impact damage, straightening, or non-factory repairs. This is specifically directed by any front-end accident history in the vehicle history report.
VIN plate on engine block: Many vehicles have the VIN stamped or printed on the engine block. Cross-reference this against the dashboard VIN. Mismatches indicate possible engine replacement — which is not necessarily problematic but is worth understanding specifically.
The Test Drive
Step 9 — Structured Test Drive
A useful test drive is not a casual drive around the block. Structure it:
Cold start: Observe the startup — unusual smoke, rough initial idle, or extended time to reach normal operating temperature.
City driving: Multiple stops and starts reveal transmission engagement, brake feel at low speed, and steering response in slow-speed maneuvers.
Highway speed: Vibration or shimmy at highway speed indicates potential wheel balance, tire, or driveline issues. Pulling to one side at steady speed can indicate alignment issues from collision damage.
Hard braking: From 45 mph, firm brake application should produce straight, controlled deceleration with no pulling, pulsation (indicating warped rotors), or grinding (indicating worn pads at metal-to-metal contact).
Cold to warm transition: Note any behavioral changes as the engine reaches operating temperature. Issues that disappear as the engine warms may indicate specific mechanical conditions requiring diagnosis.
Step 10 — Independent Mechanical Inspection
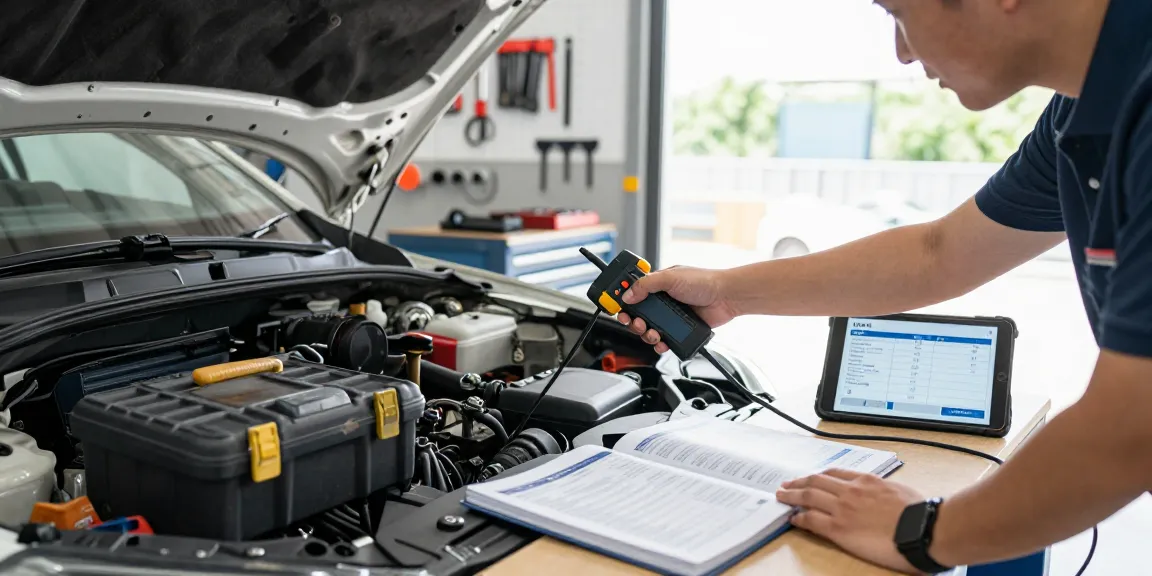
For any vehicle that passes all previous steps, a pre-purchase inspection by an independent, trusted mechanic is the final evaluation step before any purchase commitment.
Brief the mechanic with the vehicle history report. If there is a documented rear collision, direct specific attention to the rear suspension geometry and subframe. If there are service record gaps during high-mileage periods, direct specific attention to transmission condition and cooling system integrity. The history directs the mechanical inspection more efficiently.
Pre-purchase inspections typically cost $100 to $200. They provide current mechanical condition assessment that complements the documented historical record in the vehicle history report.
The Purchase Decision
Step 11 — Negotiation Based on Documentation
Every documented finding is a specific negotiating tool. An independently obtained vehicle history report gives you objective grounds for price discussion that the seller cannot credibly dismiss.
Structure negotiations around documented specifics:
- Documented accident history → specific KBB adjustment comparison
- Open recall → request completion or cost equivalence
- Service record gaps → request documentation or maintenance-risk adjustment
- Title event (if purchasing a branded-title vehicle intentionally) → market value adjustment based on actual branded-title comparables
Step 12 — Documentation Before Transfer
Before any funds transfer:
- Bill of sale documenting VIN, purchase price, date, and both parties
- Clean title in seller's name (or dealer equivalent)
- Receipt for any deposits
- Any seller representations about history in writing (relevant if misrepresentation later emerges)
Frequently Asked Questions
Q: At what point in the process should I run the vehicle history report? A: As early as possible — ideally before scheduling any visit. The report is the first filter. Eliminating candidates with disqualifying history before visiting saves the most time and prevents emotional investment in vehicles you would not purchase.
Q: Can I negotiate price after a pre-purchase inspection finds issues? A: Yes. Findings from a pre-purchase inspection — particularly if they are significant — provide legitimate grounds for price renegotiation or withdrawal from the agreement. Establish this expectation with the seller before paying for the inspection.
Q: What is the single most important step in this checklist? A: The vehicle history check (Step 3). It is the step that catches documented fraud — salvage titles, flood damage, odometer rollback — that no physical inspection reliably detects. Everything else in the checklist evaluates current condition; the history check is the only step that reveals the documented past.
Final Thoughts
Used car due diligence is a process, not a single action. The steps in this checklist are ordered to maximize protection at minimum cost: the cheapest and most informative steps come first, and each step builds on the previous.
Follow the process on every vehicle you seriously consider. The $28,000 average transaction price in 2026 deserves the investment.